





Understanding the Basics: What Makes Shells Different from Other Ammunition
The Best Shotgun Ammo for Home Defense Right Now
Shotgun ammo, or shotshell, consists of a plastic or paper hull containing primer, powder, wad, and shot, designed to fire a cluster of projectiles. Its value lies in delivering a dispersed pattern that dramatically increases the hit probability against moving or multiple targets at close to moderate range. Selecting the correct shot size and powder charge is critical, as larger pellets retain energy for game while smaller ones produce denser patterns for clay targets. With proper chamber fit and bore size, this ammunition offers immediate stopping power and versatile performance across hunting, sport, and defensive applications.

Understanding the Basics: What Makes Shells Different from Other Ammunition
Unlike rifle or handgun cartridges, shotgun shells—or shotshells—use a thin plastic or paper hull rather than a metallic case, as the chamber pressure is lower and the payload is multiple projectiles instead of a single bullet. The primer sits in a brass base, igniting powder that propels a wad carrying shot or a slug, which means the shell’s overall length and crimp style directly control chamber fit and feeding. Do not interchange shell lengths—a 2¾-inch shell in a 3-inch chamber is safe, but never fire a 3-inch shell in a 2¾-inch gun, as the crimp can’t open properly. Shot size and powder charge determine recoil and pattern density, so match them to your target, not your ego. Buckshot and birdshot feel identical in the shell, yet their performance at 20 yards is radically different. Always check the hull stamp for gauge, length, and dram equivalent before loading.
Why a Shotgun Fires Multiple Projectiles Instead of a Single Bullet
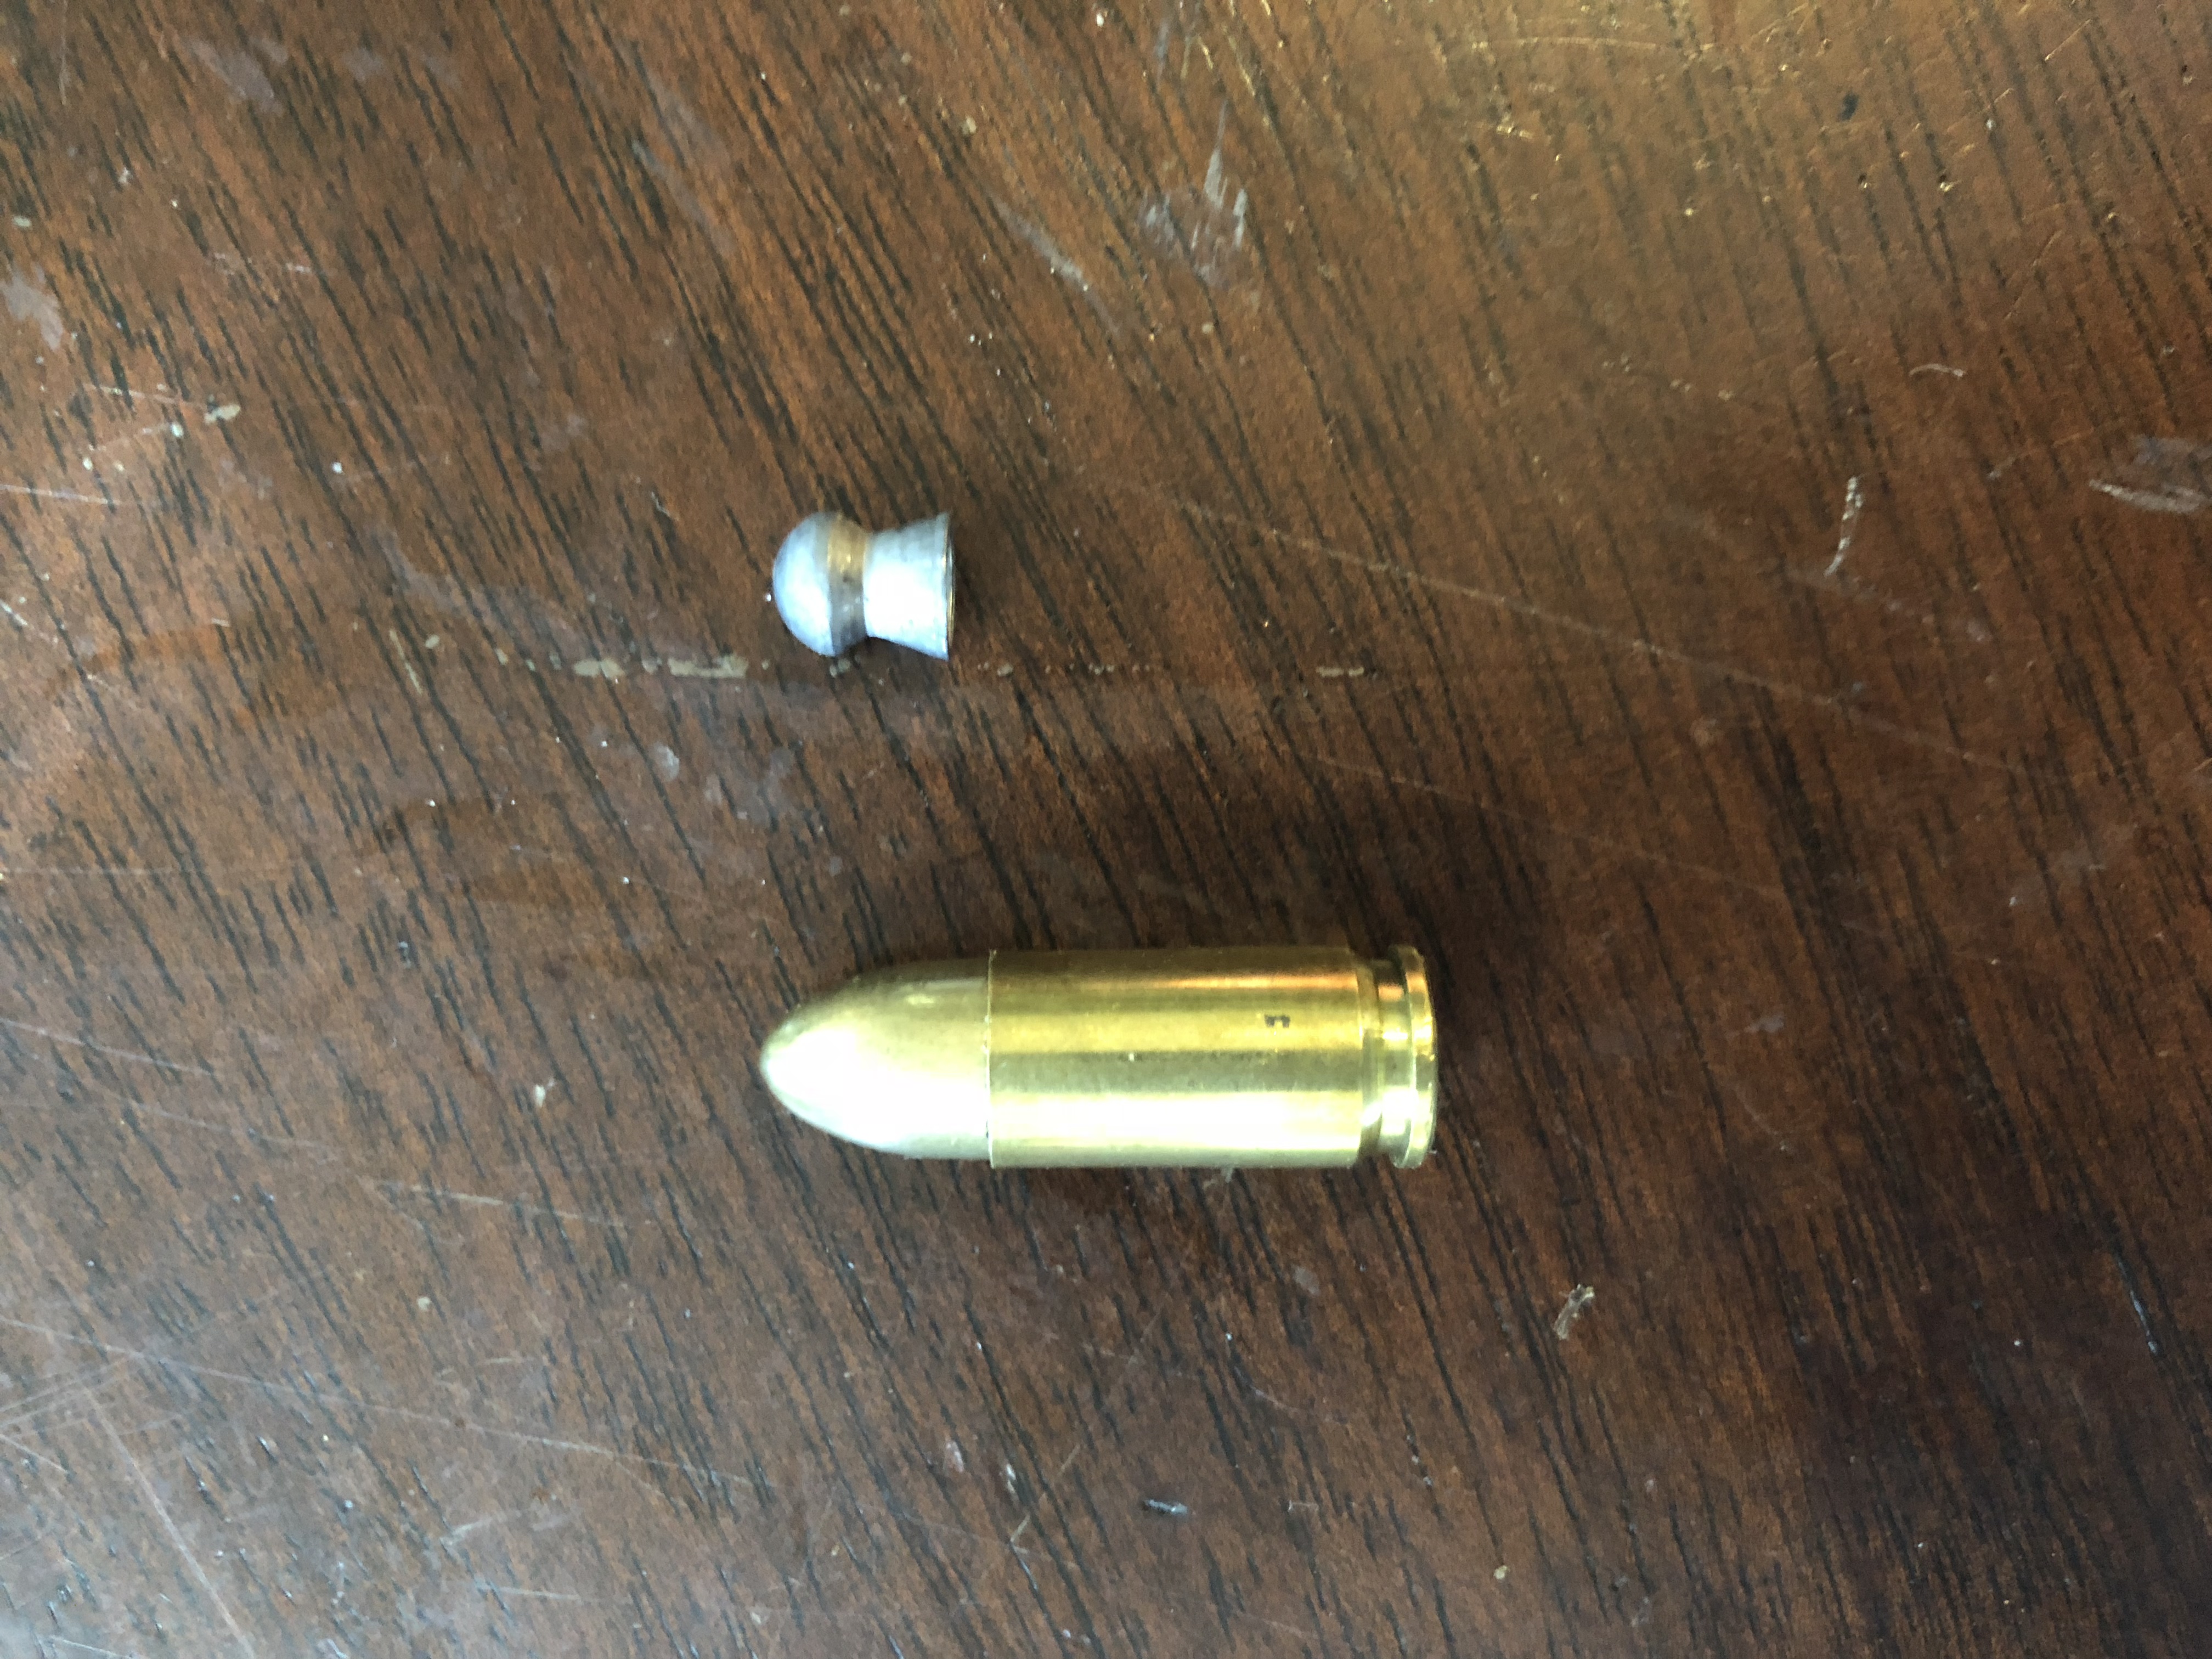
A shotgun fires multiple projectiles because its design prioritizes a spreading pattern over a single point of impact. Instead of one bullet, the shell packs numerous pellets—or a single slug—but the defining choice for hunting and defense is the shot charge. This dispersal of multiple projectiles dramatically increases hit probability against fast-moving or small targets, like birds or clay pigeons, where a single bullet would likely miss. While a slug offers rifle-like precision, the multi-pellet approach trades tight accuracy for a wider, more forgiving cone of effect at close to medium range. The bore does not spin the shot, allowing pellets to scatter naturally after leaving the muzzle, which is why the shotgun excels in dynamic, quick-engagement scenarios.
Q: Why does a shotgun fire multiple projectiles instead of a single bullet?
A: Because multiple pellets create a broader impact zone, making it far easier to connect with moving or erratic targets—where a lone bullet would require pinpoint aim and risk a complete miss.
Anatomy of a Shell: Hull, Primer, Powder, and Shot Explained Simply
A shotgun shell’s anatomy breaks into four sequential components, each with a distinct job. The hull is the plastic or brass base that holds everything together and extracts cleanly after firing. Inside, the primer sits at the base; when struck by the firing pin, it ignites the powder charge. That powder burns rapidly, creating expanding gas that drives the shot—pellets of lead, steel, or bismuth—down the barrel. A wad separates powder from shot, cushioning pellets and sealing gas. *The primer’s sensitivity dictates how reliably the shell fires in cold or dirty conditions.* Understanding this sequence helps you diagnose misfires or pattern issues directly from the shell’s construction.
Gauge vs. Caliber: How to Match the Shell to Your Firearm
When matching shotgun shells to your firearm, remember that **gauge is the shotgun equivalent of caliber**—but it’s measured differently. Caliber refers to bullet diameter in inches or millimeters, while gauge is based on the number of lead balls of that diameter equal to one pound. A 12-gauge barrel is wider than a 20-gauge, and shells won’t interchange. Always check the barrel stamp before loading. A 20-gauge shell will rattle and fail to chamber in 6mm Creedmoor Ammo for Sale a 12-gauge gun, while forcing a 12-gauge into a 20-gauge can cause a catastrophic jam. Stick to the exact gauge printed on your shotgun, and ignore “caliber” when shopping for scatterguns.
- Verify the barrel marking—never guess by visual comparison.
- Keep 12- and 20-gauge shells in separate storage bags.
- If a shell seats too loosely or .243 Ammo for Sale too tightly, stop and re-check the gauge.
Choosing the Right Payload: Shot Size, Material, and Purpose
Choosing the right payload comes down to matching shot size, shot material, and purpose. For small game like dove or quail, go with #7.5 or #8 lead shot—it patterns densely without shredding meat. For deer or slugs, switch to buckshot (like 00 or 000) or a solid slug for deep penetration. Waterfowl demands steel shot or bismuth, since lead is banned; use larger sizes like #2 or BB to retain energy at range. Heavier payloads kick more and pattern tighter, so test your choke before the hunt. For home defense, #4 buck balances overpenetration risk with stopping power. Ultimately, match the shot’s diameter and density to the target’s size and distance—bigger isn’t better if you can’t hit cleanly. Confidence comes from testing, not guessing.
Birdshot, Buckshot, or Slug: Which Load Fits Your Specific Need
Choosing between birdshot, buckshot, or slug hinges on your target’s size, distance, and required penetration. Selecting the correct shotgun payload starts with birdshot for small, fast-moving game like upland birds or clay targets, as its numerous small pellets pattern tightly at short range but lack deep tissue penetration. For medium to large game, such as deer or home-defense threats, buckshot delivers multiple heavy projectiles that retain energy effectively to roughly 40 yards, though it risks over-penetration indoors. A slug, being a single solid projectile, offers maximum penetration and accuracy beyond 75 yards, suiting large game or barricade situations where shot spread is undesirable. Match the load to the engagement distance—birdshot for 20–40 yards, buckshot for under 40, slugs for extended range—and always prioritize the minimal effective power needed.
Lead vs. Steel vs. Tungsten: Trade-offs in Density, Cost, and Performance
Lead delivers maximum density for its cost, crushing targets with authority but raising toxicity concerns. Steel, lighter and cheaper, demands larger shot sizes to match lead’s energy, yet excels in speed and pattern penetration on feathered game. Tungsten sits at the extreme: the highest density payload for terminal performance, but prices that can exceed lead by tenfold. Steel’s cost advantage evaporates when you factor in the need for longer chokes and faster loads to compensate for its low mass. For waterfowl over decoys, tungsten’s kinetic transfer is unmatched; for clay busting on a budget, steel suffices. Lead remains the sentimental choice, but ballistic reality favors density when every ounce of energy matters.
| Material | Density (g/cc) | Relative Cost | Best Use |
|---|---|---|---|
| Lead | 11.3 | Low | Upland, practice |
| Steel | 7.8 | Lowest | Waterfowl, steel-safe barrels |
| Tungsten | 15.0–18.5 | Highest | Long-range, big game |
How Shot Size Numbering Affects Pattern Density and Downrange Energy
Shot size numbering inversely dictates pellet diameter, so smaller numbers yield larger pellets. Larger pellets carry more mass, preserving downrange energy better at extended distances, but their low count per shell produces sparse pattern density. Conversely, smaller shot numbers (like #9) deliver dense, uniform patterns ideal for close-range targets but shed velocity and energy rapidly, limiting penetration. Mid-range sizes like #6 balance pellet count and retained energy, suiting medium-distance hunting. Pattern density decreases as shot size increases, while downrange energy climbs; you must choose based on the effective killing or breaking range required.
Smaller shot numbers maximize downrange energy per pellet but reduce pattern density; larger numbers increase density but sacrifice energy retention.
Matching Shell Length and Power to Your Shooting Activity
Matching shell length and power to your shooting activity is the difference between a frustrating day and a smooth one. For clay targets or light upland game, stick with 2¾-inch shells in low-recoil loads (1 ounce or less) to keep your swing fast and your shoulder fresh. If you’re hunting waterfowl or turkey, step up to 3-inch or 3½-inch magnums with heavier shot charges—those extra pellets and velocity deliver the knockdown power needed at longer ranges.
Over-gunning for small game just wears you out and ruins your rhythm, while under-gunning for big birds leaves you with cripples.
Always check your shotgun’s chamber length (printed on the barrel) and never force a longer shell into a shorter chamber. For self-defense or buckshot, a standard 2¾-inch load with a tight pattern beats a magnum’s punishing kick in a quick follow-up shot.
2.75, 3, and 3.5 Inch Shells: What the Length Really Means for Recoil and Capacity
The length of a shotshell dictates both the physical space it occupies in the magazine tube and the powder charge it can legally contain, creating a direct trade-off. A **2.75-inch shell** is the baseline; its shorter case means lower felt recoil and typically allows a standard pump or semi-auto to hold one or two extra rounds compared to a 3-inch load. Stepping up to a 3-inch shell increases case volume, permitting heavier shot payloads and slower-burning powders, but this translates to a sharper kick and a reduction in capacity—often dropping from five rounds to four in a typical tube. The 3.5-inch magnum is the extreme, built for turkey and waterfowl; it delivers punishing recoil and magazine capacity shrinks further, sometimes to just three rounds, while the longer shell can also cause feeding issues if the receiver isn’t specifically machined for it. Choose the shortest length that reliably delivers the pattern you need for your target, because extra length only subtracts rounds and adds punishment.
Q: Does a 3.5-inch shell always recoil more than a 3-inch shell of the same shot weight?
A: Yes, but not simply because of length. The 3.5-inch case allows higher pressure and a heavier shot column, but if you load both with identical 1.25-ounce payloads, the 3.5-inch often recoils *less* due to a slower pressure curve. However, in practice, you shoot 3.5-inch shells with 1.5-ounce loads, so felt recoil is dramatically higher, and you surrender at least one round of capacity versus a shorter shell.
Low Recoil vs. High Velocity Loads: Finding the Sweet Spot for Clay Targets or Defense
For clay targets, low recoil loads allow faster follow-up shots and reduce flinching, but their slower velocity demands more precise lead on crossing birds. High velocity loads flatten trajectories, shrinking distance estimation errors, yet the added recoil can break your mount rhythm. For defense, low recoil loads keep the muzzle on target for rapid multiple hits, while high velocity loads deliver deeper penetration through barriers—though over-penetration risk rises. The sweet spot emerges by testing your specific firearm’s cycling reliability with .223 Ammo for Sale reduced loads. Choose light loads for practice and target work, but verify their feed reliability before trusting them defensively.
- Start with low recoil loads to master smooth swinging and consistent cheek weld.
- Test high velocity loads only if you miss behind clays or need barrier penetration.
- Gauge your recoil tolerance: if you flinch, drop velocity; if you short-stroke, increase it.
Understanding Dram Equivalents and FPS Without Getting Overwhelmed
Dram equivalents and FPS ratings look technical, but they simply describe felt recoil and shot speed. For practical use, ignore the numbers and focus on what they mean for your target: a 3-dram, 1,200 FPS load handles most clays and field birds without punishing your shoulder. Higher FPS, like 1,300+, flattens trajectory for longer shots but adds recoil and cost. **Understanding dram equivalents and FPS without getting overwhelmed** means picking a mid-range load first, testing it, then adjusting only if you miss behind .260 Remington Ammo for Sale or flinch. You do not need a calculator—just compare two boxes side-by-side and choose the lower power option until your technique dictates otherwise.
Q: Do I need to memorize FPS numbers to choose good shotgun ammo?
A: No. For 90% of shooters, a 2.75-inch shell with 3 drams and 1,200 FPS will work perfectly. Only change if your hits are consistently late (needs more speed) or your shoulder aches (needs less dram).
Practical Tips for Buying and Storing Your Shells
When buying shotgun ammo, match the shell’s length and shot size to your specific shotgun’s chamber markings—forcing a 3-inch shell into a 2¾-inch chamber invites dangerous pressure spikes. For storage, prioritize a cool, dry environment; humidity is the enemy of primers and paper hulls, so toss a silica gel pack into your ammo can. Rotate your stock by shooting the oldest boxes first, and always inspect for corroded brass or dented hulls before loading. Buy in bulk only if you can guarantee stable temperature—a hot car trunk or damp basement will degrade velocity over months. Never store shells in a leather shell belt for long-term use, as leather draws moisture and can cause swelling that leads to bulk ammo for sale chamber misfeeds.
How to Read a Box Label: Crush Depth, Shot Weight, and Velocity at a Glance
When you grab a box of shells, the label is your cheat sheet. Crush depth, shot weight, and velocity at a glance tell you everything before you even load up. First, find the velocity in feet per second (fps)—that’s your speed rating, usually 1,200–1,400 fps for standard loads. Next, check shot weight (ounces, like 1 oz or 1⅛ oz); heavier means more pellets downrange. Finally, look for crush depth—often listed as “power” or penetration in inches on specialty buckshot—which shows how deep the load drives into ballistic gel.
- Scan for velocity numbers (fps) to gauge recoil and range.
- Locate shot weight (oz) to balance pattern density vs. payload.
- Find crush depth (inches) if hunting or defensive loads advertise it.
That’s it—three numbers, zero guesswork.
Bulk Packs vs. Premium Boxes: Where It’s Worth Spending More

For casual clay busting or blasting through boxes of field loads, bulk packs stretch your dollar without sacrificing function. The real line appears when you need tight, consistent patterns at 40 yards—turkey loads, buckshot for defense, or long-range waterfowl. Premium boxes pay off with nickel-plated hulls, buffered shot, and wads engineered to reduce flyers, while bulk packs often show fliers past 30 yards. Buy premium for fewer than 50 shells a year where a miss costs you the hunt; 7.62 Tokarev Ammo for Sale buy bulk for volume practice where shot-to-shot spread matters less. Test one premium box before committing, and store both away from heat—but remember, the price gap shrinks fast when you count misses.
Spend premium only on tight-pattern, high-stakes shots; bulk packs win for practice and volumes where pattern consistency barely matters.
Keeping Shells Reliable: Ideal Storage Conditions and Shelf Life Warning Signs
To keep shells reliable, store them in a cool, dry place with stable temperatures—ideally below 75°F—since extreme heat or humidity degrades powder and primers. Keep them in their original boxes or a sealed ammo can with desiccant packs to prevent moisture from corroding brass and swelling hulls. Avoid leaving rounds in hot vehicle trunks or damp basements, as temperature swings accelerate aging. Check for warning signs like corroded 6mm ARC Ammo for Sale primers, cracked or bulging hulls, loose crimps, or powder that smells like vinegar—these indicate unreliable ignition or pressure issues. Rotate stock annually, using older shells first, and discard any rounds that rattle or show visible fatigue. Shelf life warning signs are your primary cue to stop trusting questionable ammo before it causes malfunctions.
Store shells cool and dry, inspect for corrosion, cracks, or odor, and rotate stock—if anything looks degraded, don’t fire it.
Getting the Most From Your Loads: Patterning and Troubleshooting
To get the most from your shotgun ammo, patterning is non-negotiable—it reveals exactly where your load’s shot column impacts relative to your point of aim. Shoot at least three different shell brands or shot 7.5×55 Swiss Ammo for Sale sizes at a clean target, then measure the densest core versus the overall spread; a good hunting pattern should hold roughly 60-70% of pellets in a 30-inch circle at your intended range. If your pattern drifts or strings, troubleshoot your choke first, switching to a tighter or more open constriction to match the load’s velocity and shot hardness. Don’t blame the gun until you’ve tested at least five loads, because barrel harmonics and shell pressure curves interact unpredictably. Always clean and degrease your bore before patterning, as residual oil can distort shot wad flight and create erratic holes in the pattern. What works for a friend’s semi-auto may turn your pump into a shotgun that shoots sideways, so trust only your own paper. Finally, verify the target’s wad hole—if it’s adjacent to the main pattern, your stock fit or cheek weld is forcing a misalignment that no shell can fix.
How to Pattern Your Gun and Ammo Combo for Maximum Accuracy
To pattern your gun and ammo combo for maximum accuracy, shoot from a solid rest at a measured 40 yards, aiming at a consistent point on a large target. Fire multiple shots with the same shell lot to build a reliable average, then measure the core pellet density within a 30-inch circle. Compare different choke constrictions and load velocities to identify the tightest, most even distribution. Matching the choke to the shell’s shot size and payload is the critical variable—lighter loads often need more constriction. Count pellet holes in quadrants to ensure no voids. Patterning is not about one lucky shot; it’s consistent, repeatable placement.
Q: How do I know if my combo is already accurate?
A: If 70% of your pellets land inside a 30-inch circle with an even .22-250 Ammo for Sale spread and no gaps, your gun and ammo are performing optimally for that distance.
Common Misfires or Foul Foul-Ups and How to Fix Them at the Range
A common misfire at the range often stems from a light primer strike, usually caused by a worn firing pin spring or fouled bolt face. If the primer shows a shallow dent, clean the bolt channel and test with snap caps before reloading. A “foul foul-up” like a shell failing to eject typically indicates excessive chamber pressure or a dirty extractor lip; polish the lip and verify your crimp depth. For a squib load—a weak pop with no recoil—immediately stop, clear the barrel, and check for a stuck projectile. Always inspect spent hulls for splits or 9x23mm Winchester Ammo for Sale blown primers to adjust your powder charge.
- Clear the firearm and remove the stuck shell with a cleaning rod.
- Disassemble the bolt and scrub the firing pin channel with solvent.
- Recheck your reloading data for over-pressure signs before firing again.
If a shell fails to fire completely, hangfire protocol dictates keeping the muzzle downrange for 30 seconds before opening the action.
Matching Wad Types to Your Use Case: Target, Hunting, or Home Defense
For matching wad types to your use case, think of the wad as the messenger between the powder and the target. Target loads usually use a classic, cup-style wad that crimps tightly for consistent, round patterns at 20–30 yards—great for clay busting, where shot drop matters little. Hunting, especially with steel or bismuth, demands a thick, protective wad that cushions pellets to preserve energy and prevent barrel scoring; a “shot cup” with a valve allows for denser, longer-range patterns on birds or rabbits. Home defense, though, is a different beast—you want a short, heavy shot column with a simple, stiff wad that opens quickly, delivering a wide, devastating spread at indoor distances without over-penetrating. Pick the wad that matches the game, not the gun.